Monday, July 14, 2014

MQG Michael Miller fabric challenge

As a member of the Rochester Modern Quilt Guild I was fortunate enough to receive a small pacage of Michael Miller fabrics and to be able to participate in the challenge.  The rules were simple; use only the fabric provided alone or along with any solid, or any other Michael Miller fabric, and the item must be quilted. 

This left things pretty wide open and there are some AMAZING completed projects showing up on the MQG site, Instagram and Facebook.

After suffering from a bout of zero inspiration ever since I brought the fabric home, I finally had  an idea!  I was standing in line  at the PO to mail my mini quilt swap box and I noticed  a rack of greeting cards.  One was designed with just punctuation marks  and I  thought   how  cool it would be to re-create that as a quilt.  And then I  said, "aha!" Why not do that with the Michael Miller fabrics?

I printed out some punctuation and then traced them onto lightweight fusible web.  Then I chose a black background and randomly fused the pieces in place.  I have been wanting to try matchstick quilting and that solved the problem of how to stitch, or even whether to stitch the applique in place.

For the quilting I  used  different weight threads in coordinating colors.  Some is Aurifil, some is poly quilting thread and some is Mettler embroidery thread.   The quilting was extremely time consuming (it took several hours using a high speed machine and this is a small piece) but I love the effect!

I applied a faced binding which I also love and some small brass  rings for hanging.  The finished mini is about 14" x 20".

Mini Quilt Swap - my loot

I posted a few days ago about the mini quilt I made for the Schnitzel and Boo Instagram swap and I wanted to show you the quilt I received.

I hit the jackpot!  My partner for the swap was Patty Sloniger (@pattysloniger)  a licensed fabric designer for Michael Miller.  The mini quilt she sent is absolutely gorgeous and I love the colors!  She used some of her new fabric line Emma's Garden,  and also sent me some of the scraps.  Woot woot!

Also included in the package  is a darling quilt themed watercolor which is already hanging on the wall in my studio (as is the  mini quilt).

The box of goodies was fabulous and just the pick-me- up I needed last week.

Gifties

I already posted about the bunting that I made for my nephew's birthday, but I want to share a couple of other small gifts I've made lately. I've said it before, but I really love making small projects...instant gratification!

Here's the bunting...I just couldn't resist sharing it again! Side note: my mom, Kimberly, was holding my niece Aubrey (who is 2) when my nephew opened the bunting. Supposedly, Aubrey said "mommy...mommy...mommy...I want that" when she saw the bunting. Needless to say, I already bought another pack of iron-on letters (pink) to make more bunting for Aubs (and maybe some for me).

A quilted zipper pouch for my niece, Aubrey, so she had something to open at the party as well.

And a set of quilted coasters for one of my gal pals. These coasters are super special as they are made out of my own hand dyed fabric. So unique! I think the next time I make coasters I am going to incorporate some FMQ. These coasters are super fun and fast to make and really help you burn through those small batting scraps. They make great gifts!

Happy stitching, my friends!

Francesca

Edit: Before I could even get this posted, I went ahead and made Aubrey's bunting - I was so excited. The more I make of these, the faster they seem to go. I did have to make a new freezer paper template though - my old one wasn't sticky anymore.

Here's my layout.

After I applied the letters.

And the finished product. Love the yellow...such a nick kick of color.


Friday, July 11, 2014

A bunting we will go...

My nephew Riley turns 4 in a few days and his birthday party is this weekend. I wanted to make him something (to procrastinate on the projects I should be working on) so I decided to make him some bunting with his name on it. I had left over iron-on letters from the SGQ bunting, although I had to modify some letters to change them into what I needed. I used a few colors of Robert Kaufman Dazzle fabric that I bought a FQ stack of way back when and also some whale novelty print I had laying around. I don't normally buy novelty fabric but I spotted this a JoAnn's a long time ago and it is actually very soft with a nice hand. And Riley is probably the person in my life who will most appreciate whale fabric, by a long shot. I used pre-made bias tape again so this project went so fast. I top stitched with lime green thread again, this time as a contrast, to tie in with the green letters. I'm really pleased with how it all came together!


Final order
After applying the letters
Finished bunting
Close up of top stitching (and my leg, haha)

Happy stitching!
Francesca

Linked with Sarah, Amanda Jean and Audrey

Thursday, July 10, 2014

Mini Quilt Swap

Such fun!  I just participated in the 2nd round of the Schnitzelandboo mini quilt swap.    Partners were randomly assigned and we were set loose to 'stalk' our selected recipient on social media  and then create a mini quilt for them.

I had grand ideas for a unique  quilt featuring rainbow colors since that is what my partner likes.  During my week of vacation in early June I set to work.  I selected fabrics.  I cut circles.  I set the circles into blocks.  I sliced the blocks into quarters.  I made  'sprouts' and stems.  I pieced in white  for the background and voila! The top was complete after a day and half of steady work.

And then....OH NO!  I re-read the Schnitzel and Boo rules.  The minis were supposed to be no bigger than 24" square!  Mine measured in at almost 36" tall....DRAT!!!!!!

Back to the drawing board.  The second version took much less time since 1. I had already picked the fabrics, 2. The pattern was too small for set in circles so I just  snowballed the  corners to make the little sprouts and 3. I had some experience in how to assemble the columns and white background from the first attempt so not as much brain work was involved.

So, several hours later I had a smaller version that complied with the size  guidelines.  They look soooo cute together!

Now for the quilting.  I did a small meander in the white background with white thread.  In the colored colums I quilted a different pattern in each and all the sprouts have a small feather.  I used coordinating color threads.   My FMQ skills are  improving on the Juki!  (By the way, I LOVE my Juki!)

The binding is a small text print which I think adds a nice frame without being overpowering. 

The last step was to grab some goodies to throw into the package.  I chose some rainbow ric rac, washi tape, skittles, clover binding clips and a new seam ripper (which I knew my partner needed   since she posted about it on IG!).  And the package was ready to go.

I just found out this morning that she received it.  I am still waiting (not too patiently I might add) for my package to arrive.  This is definitely the hard part!  I had so much fun with this swap that Iimmediately signed up for another - the Strawberry Swap (IG #thestrawberryswap).

Tuesday, July 8, 2014

Tutorial Tuesday #3 - Distressing Fabric

Ok, I know I just posted a tutorial a few Tuesdays ago, but I have a cool tutorial to share with you today, even though it's not mine. Several months ago in November, Kimberly and I saw the same post at Crazy Mom Quilts where Amanda Jean was playing with some fabric she distressed. Kimberly and I both wanted to try it, so I dutifully ordered some bleach-stop from my dye supplier, Dharma Trading Co. Somehow or another, things came up, and we never actually did any fabric distressing.  I found the bleach-stop in with my tie dye supplies recently and I had a lot of fun distressing some fabric. I really like what I came up with and I'm excited to see what I can make with these valued fabrics. And, next time a bee mate asks for "low volume" I'll just grab my bleach, muahahaha (:


Amanda Jean wrote up this swell tutorial for distressing fabrics so follow the link if you would like to try this neat project. I'll give you the same warning she put in her post: this can be addictive!

That's all for this Tutorial Tuesday- see you next time (probably not for several months!)

Francesca

Monday, July 7, 2014

Halfway through is NOT too late to join...right? (Q3 Proposals)

So I decided (halfway through 2014) to join the 2014 Finish Along with Katy at the Littlest Thistle. At least I am right on time to start quarter 3. So here are my proposed projects: to be completely finished and posted by October 6, 2014.

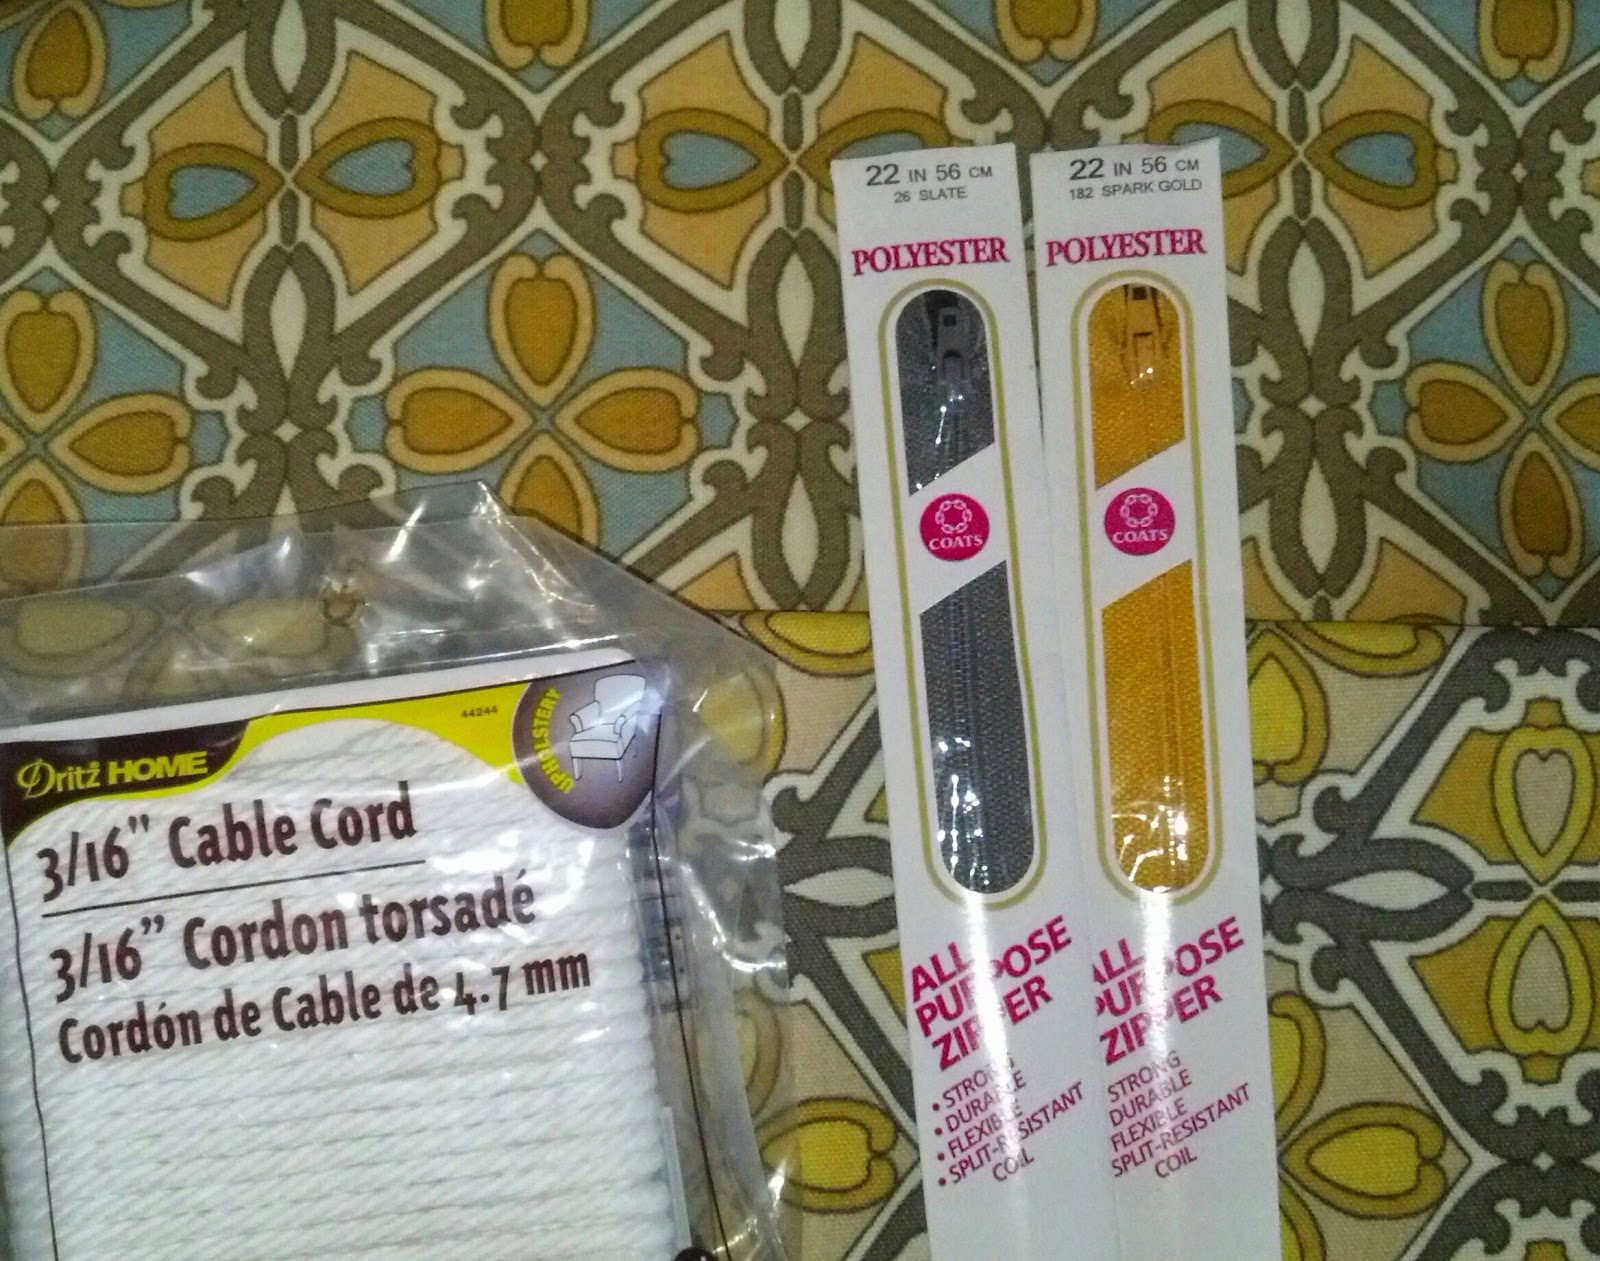
1. Cushions for the bench (read: incredibly uncomfortable to sit on bench) in our backyard. I live in WNY (where it get's cold in autumn and winter) so these aren't done by September, why bother making them at all this year?


Status: I have the pattern, fabric, and all other materials.

2. "Quilter's Palette" bag - designed by Jinny Beyer, using my own selection of batik fabric.
Status: I have the pattern and most, if not all, of the material. I have started paper piecing the side panels.

3. Tie dyed couch cushion.

Status: I have a 24" square pillow form (of high quality) that I have been dying to make a cover for so I can use it in bed when reading or on the computer. I want to tie dye fabric and then do some slice-and-insert piecing for the cover. I have the fabric for this but it's not dyed yet.

4. Hexagon quilt featuring Riley Blake's Quartrefoil fabric.
Status: I have drawn my layout, done a few practice pieces to see how the seams go together and just BARELY started the cutting. I'm planning on making this at least "throw" sized.

So this post gets linked with the Q3 opening party, I will post when/if (when) I get these projects finished, and I'll do a re-cap in the beginning of October to see if the FAL actually motivated me to finish stuff.  Happy stitching!


Francesca